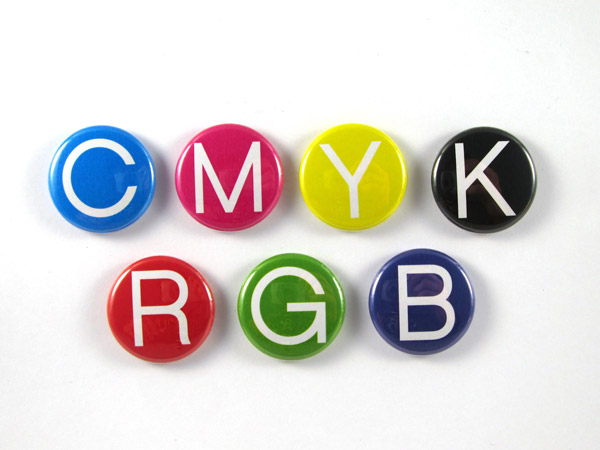
The Beginners Guide to RGB vs. CMYK
Posted by Make Badges on 14th Dec 2015
When it comes to creating your design for custom-made magnets, custom-made badges and all the other fantastic customisable items on offer from Make Badges, it can be confusing when you encounter design terminology found within your graphic design program. A major source of confusion is often centred around colour selection and definition. Colour plays a hugely important role in your designs, and you will want the colours of your labour to print fruitfully. One of the most important things to understand in this regard has to do with the differences between RGB and CMYK. Though it may initially sound complicated, we’ve put together a list of helpful tips to ensure your next custom-made badge or custom-made magnet is the best it can be.

What are RGB and CMYK?
RGB and CMYK are what are referred to as "colour modes." In essence, they're the systems that are used for displaying colour in different forms of media, be it digital or print - with custom made magnets and custom made badges being just two examples. Some colours, particularly those at the extreme ends of the colour gamut will look slightly different in RGB than they will in CMYK, which is why it is important to understand how and why colours work the way they do at the design stage.
How are RGB and CMYK Different?
RGB is an acronym that stands for "Red, Green and Blue." It's the system used by digital devices like computer monitors, television sets, smartphones and more to display colour as accurately as possible. Using unique combinations of red, blue and green light, these devices display millions of different colours in their own unique ways.
CMYK, on the other hand, is an acronym that stands for "Cyan, Magenta, Yellow and Black." Combinations of these four colours (in the form of inks or toner) are used in the ‘four colour print process’. So why is this important, you ask?
In essence, this means that a colour like "Red" will be made in two completely different ways depending on which colour mode you're working with. When designing custom made magnets or badges, you always want to make sure that you're designing in the same colour mode that the item will eventually be printed in to let you see on screen what you will eventually see in the finished product as accurately and precisely as possible.
It's important to note for this reason that there are certain shades of colour that cannot be accurately replicated in CMYK printing if they were first designed in RGB. This is a phenomenon known as a "colour shift," which happens fairly often when switching to one mode or another. Something that originally appeared bright in RGB may look a little on the dull side in CMYK. In order to avoid surprising or unwanted colour shifts when printing, always create your designs in the same colour mode that it will be printed in. We also advise printing a hard copy of your design, this will give you some idea as to what the colour will look like when printed. You may also wish to use the ‘Proof Colours’ option in Adobe Photoshop (CTRL / CMD + Y) to simulate the printed result.
Make Badges Artwork
At Make Badges print using a digital CMYK process. Therefore we recommend you create your design in an artwork file using the CMYK colour mode. This will give you the closest possible match between what you see on the screen and what your finished product will look like. We have downloadable templates for both Adobe Photoshop and Illustrator on our artwork page to get you started. We hope that helps clarify what is often the most confusing aspect of designing your own artwork for use on custom-made badges, magnets and the like. If you are having problems, please free to contact us and we can arrange a solution.

